Submit A Warranty Request

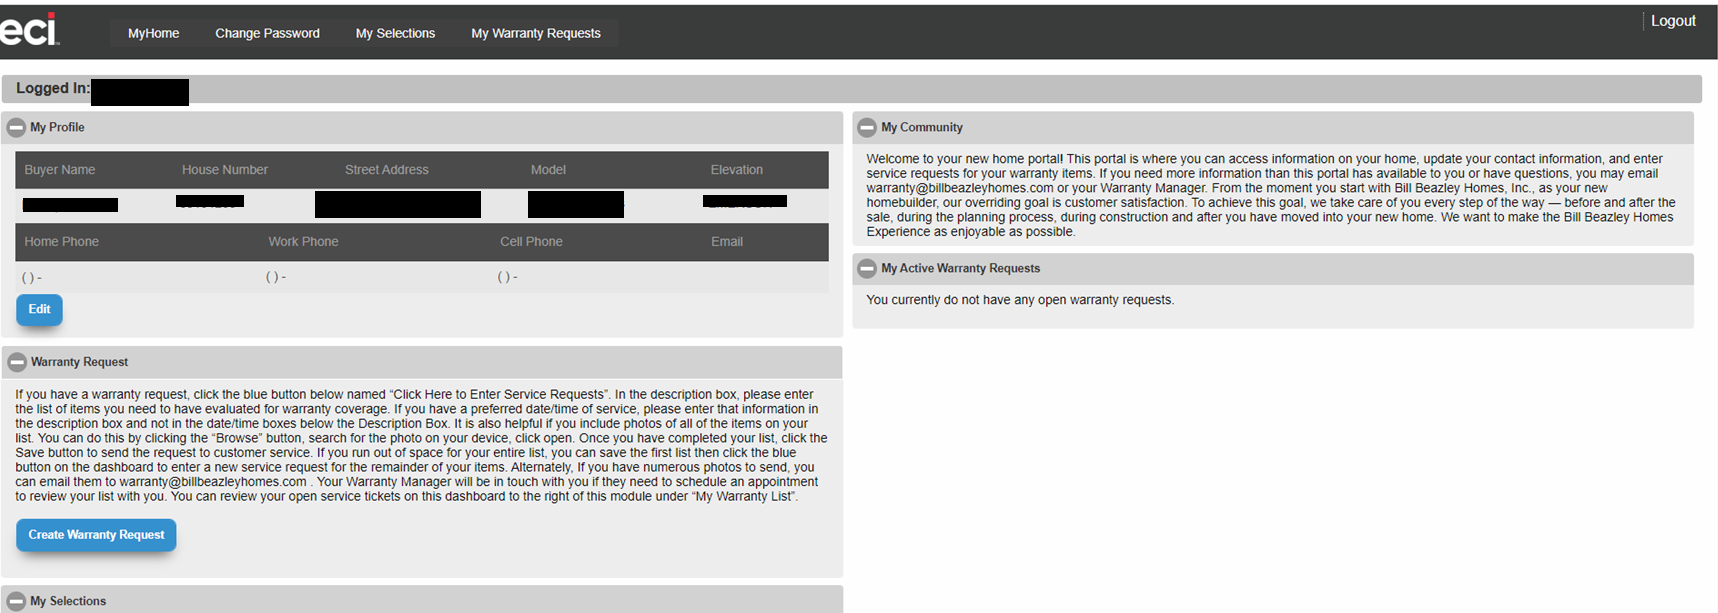
Homeowner ITK Portal

ITK Warranty Portal

ITK Video Tutorial and Steps to Submitting a Warranty Request

ITK Video Tutorial

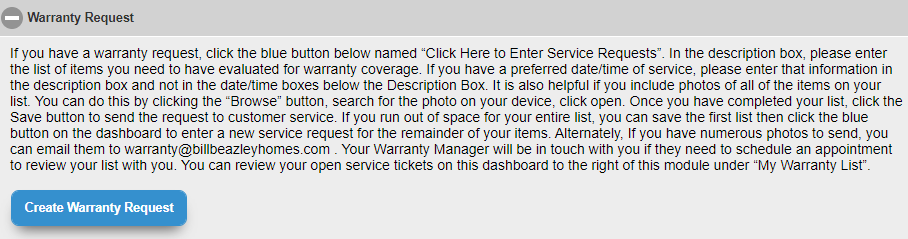
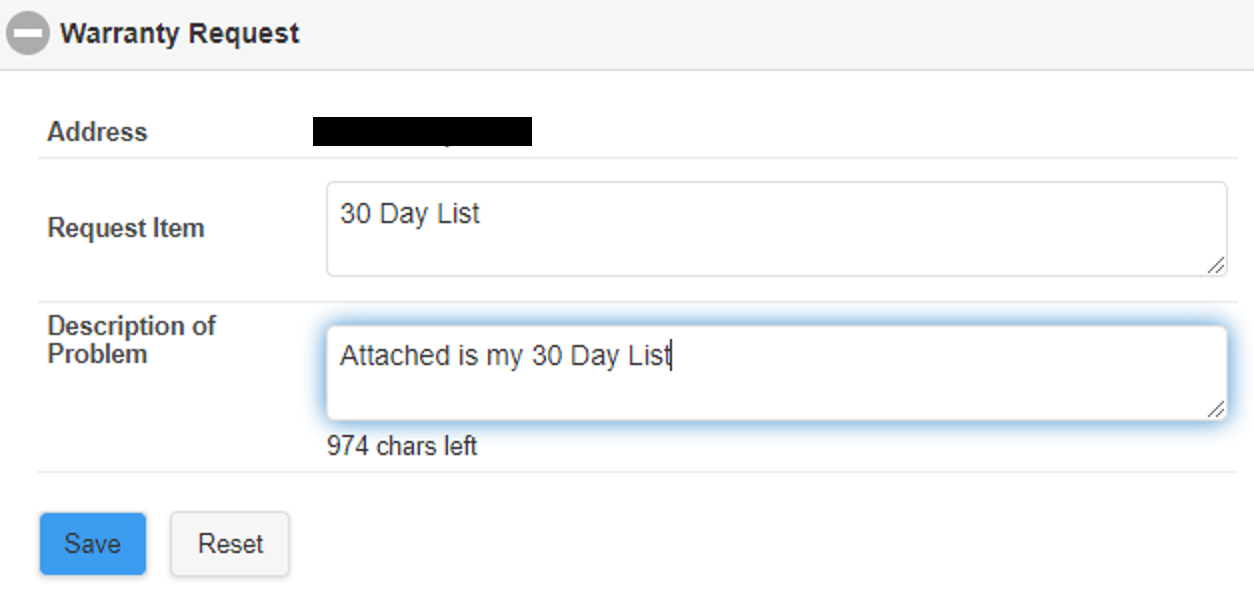
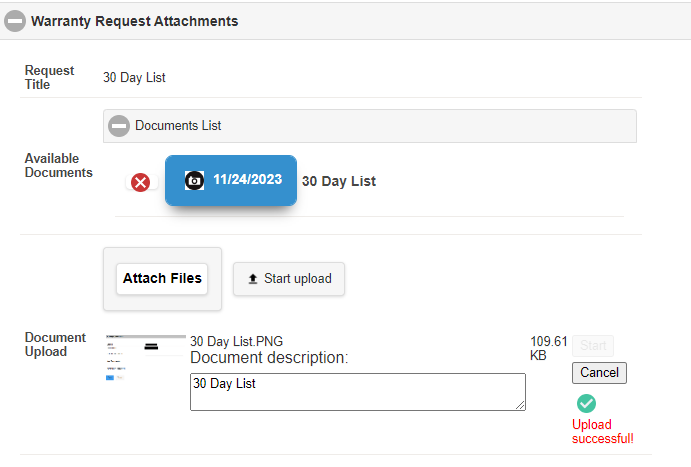
Step-by-Step to Submit a Warranty Request

Your log-in page will ask you for the username and temporary password given to you in your Homeowner Orientation Email
Your home page will have a menu bar at the top, general home information and selections, ability to submit a warranty request, and be able to see if any warranty requests are open. 
Under 'Warranty Request' on the home page, you may select 'Create Warranty Request' to submit a warranty request to your warranty manager
After selecting 'Create Warranty Request,' a new window will pop up like the above image. You may enter information you have about a warranty request, 30 day list, or 11 month list.  Select 'Save' once you are finished and then you can add documents and photos. <br>An email will be sent to the Warranty Department letting them know you have submitted a Warranty Request  
After selecting 'Create Warranty Request,' a new window will pop up like the above image. You may enter information you have about a warranty request, 30 day list, or 11 month list.  Select 'Save' once you are finished and then you can add documents and photos.
An email will be sent to the Warranty Department letting them know you have submitted a Warranty Request  
You will go back to 'My Home' and navigate to the right hand side of the page where you will see your new Warranty Request under 'My Active Warranty Requests.' Select 'Manage Attachments' to attach lists, supporting documents, or photo.
If you attach a document, photo, or list, make sure that you have 'Upload Successful' before exiting the screen. 

Was this article helpful?